Εισαγωγή
Η εισαγωγή προϊόντων στο Woocommerce είναι μία σχετικά απλή διαδικασία που μπορεί να γίνει και με απλές βασικές γνώσεις διαχείρισης περιεχομένου. Είναι μια κλασική ερώτηση μόλις ολοκληρώνουμε ένα project και μας ρωτάνε ” πως περνάω προίόντα στο κατάστημα μου; “.
Μπορεί να γίνει με δύο διαφορετικούς τρόπους, είτε χειροκίνητα κάτι που περιγράφουμε παρακάτω είτε μέσω εισαγωγής κάποιου αρχείου csv/xml που έχει περασμένα στην κατάλληλη μορφή τη λίστα με τα προϊόντα.
Η δεύτερη διαδικασία απαιτεί τεχνικές ικανότητες και προτείνεται σε όσους ξέρουν πως γίνεται.
Με την βοήθεια του Woocommerce, μπορείτε να εισάγετε τα προϊόντα σας σε μια ιστοσελίδα, να τα οργανώσετε και να φαίνονται με σωστό τρόπο στους επισκέπτες της ιστοσελίδας σας. Η εισαγωγή είναι εύκολη και γρήγορη. Αρχικά, πρέπει να δημιουργήσετε μια κατηγορία ή κατηγορίες για τα προϊόντα σας. Στη συνέχεια, μπορείτε να εισάγετε τα προϊόντα σας στην κατηγορία που δημιουργήσατε. Τέλος, μπορείτε να προσθέσετε φωτογραφίες, περιγραφές και άλλες πληροφορίες σχετικά με τα προϊόντα σας.
Πως να δημιουργήσετε ένα κατάστημα
Woocommerce
Πρώτα απ΄’όλα για να έχετε τη δυνατότητα να εισάγετε προϊόντα πρέπει να υπάρχει εγκατεστημένο το πρόσθετο Woocommerce. Δεν είναι από προεπιλογή σε μια εγκατάσταση WordPress, οπότε πρέπει να εγκατασταθεί πρώτα.
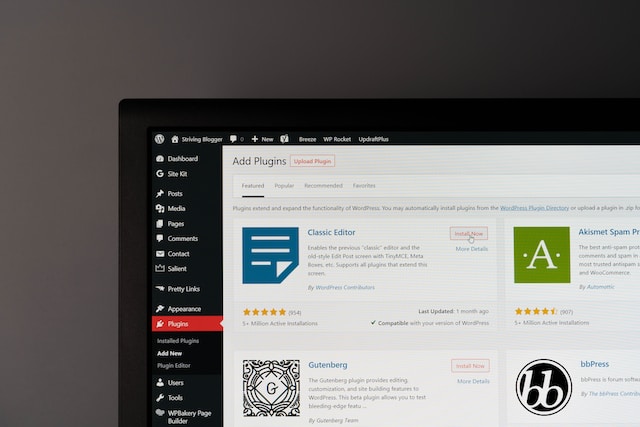
1. Ξεκινήστε με την εγκατάσταση του Woocommerce. Μπορείτε να το κάνετε από το διαχειριστή του WordPress από την ενότητα “Πρόσθετα”.
2. Μετά την εγκατάσταση, θα πρέπει να δημιουργήσετε ένα λογαριασμό διαχειριστή για το κατάστημα σας. Αυτό θα σας επιτρέψει να διαχειριστείτε το κατάστημα σας και να δημιουργήσετε τις διαφημίσεις σας εάν το επιθυμείτε.
3. Στη συνέχεια, θα πρέπει να δημιουργήσετε τις σελίδες του καταστήματός σας. Αυτό μπορεί να γίνει με την εγκατάσταση ενός θέματος Woocommerce ή με την εγκατάσταση ενός θέματος WordPress.
4. Τέλος, θα πρέπει να δημιουργήσετε τα προϊόντα σας. Αυτό μπορεί να γίνει με την εισαγωγή των προϊόντων σας από ένα αρχείο CSV / XML ή με την δημιουργία των προϊόντων με τον διαχειριστή του Woocommerce.
Πως να εισαγάγετε προϊόντα στο Woocommerce
1. Συνδεθείτε στο διαχειριστή του Woocommerce.
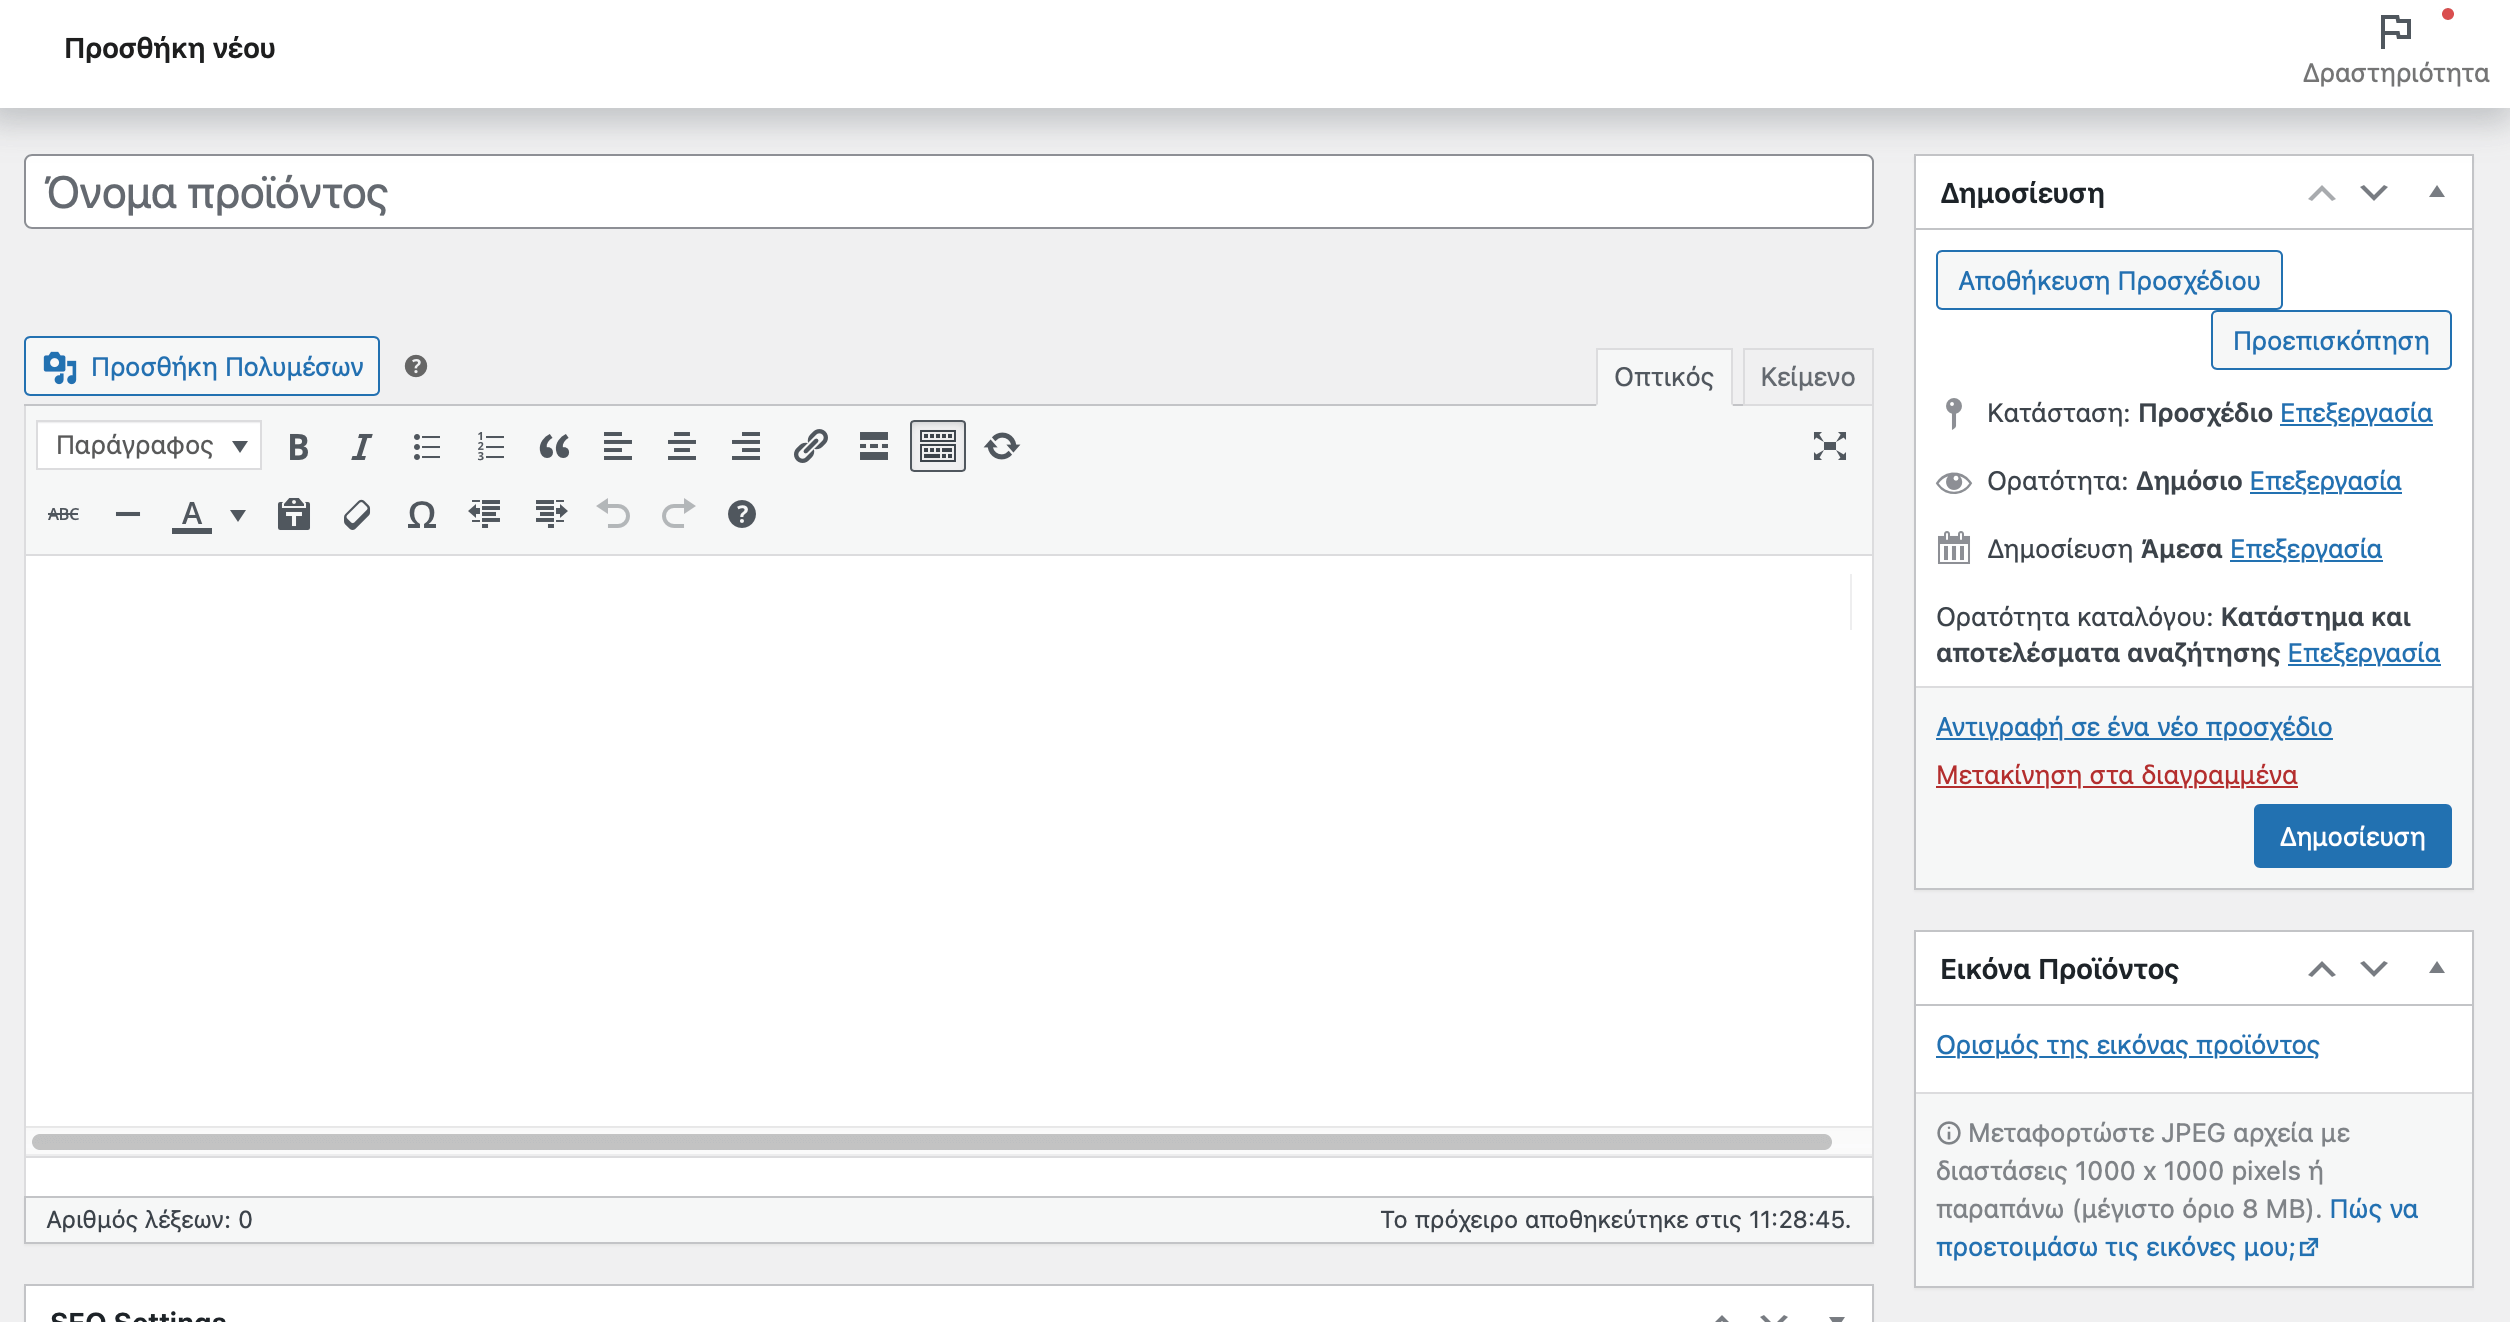
2. Πηγαίνετε στο μενού “Προϊόντα” και επιλέξτε “Προσθήκη Νέου”.
3. Συμπληρώστε τα στοιχεία του προϊόντος, όπως το όνομα, την κατηγορία, τις λεπτομέρειες, τις εικόνες και τις διαθέσιμες επιλογές.
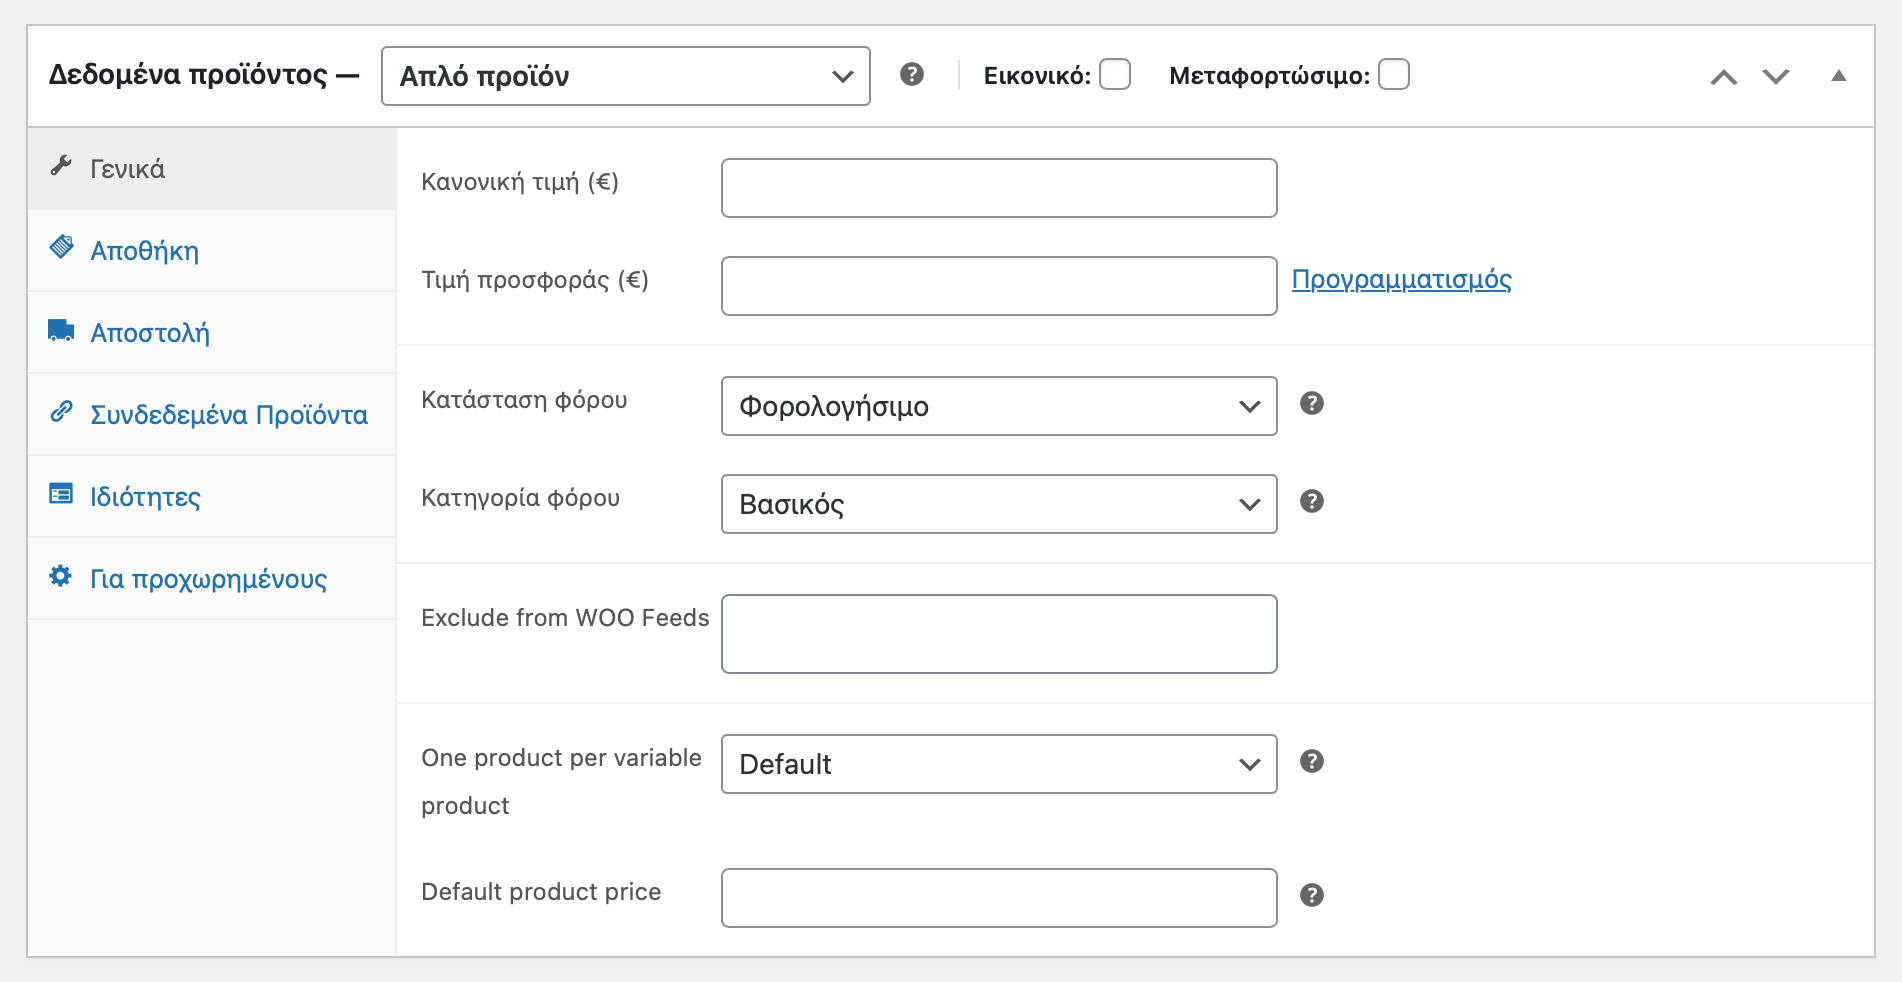
4. Προσθέστε τις τιμές του προϊόντος και τις διαθέσιμες επιλογές παραγγελίας.
5. Προσθέστε τις διαθέσιμες μεθόδους πληρωμής για το προϊόν.
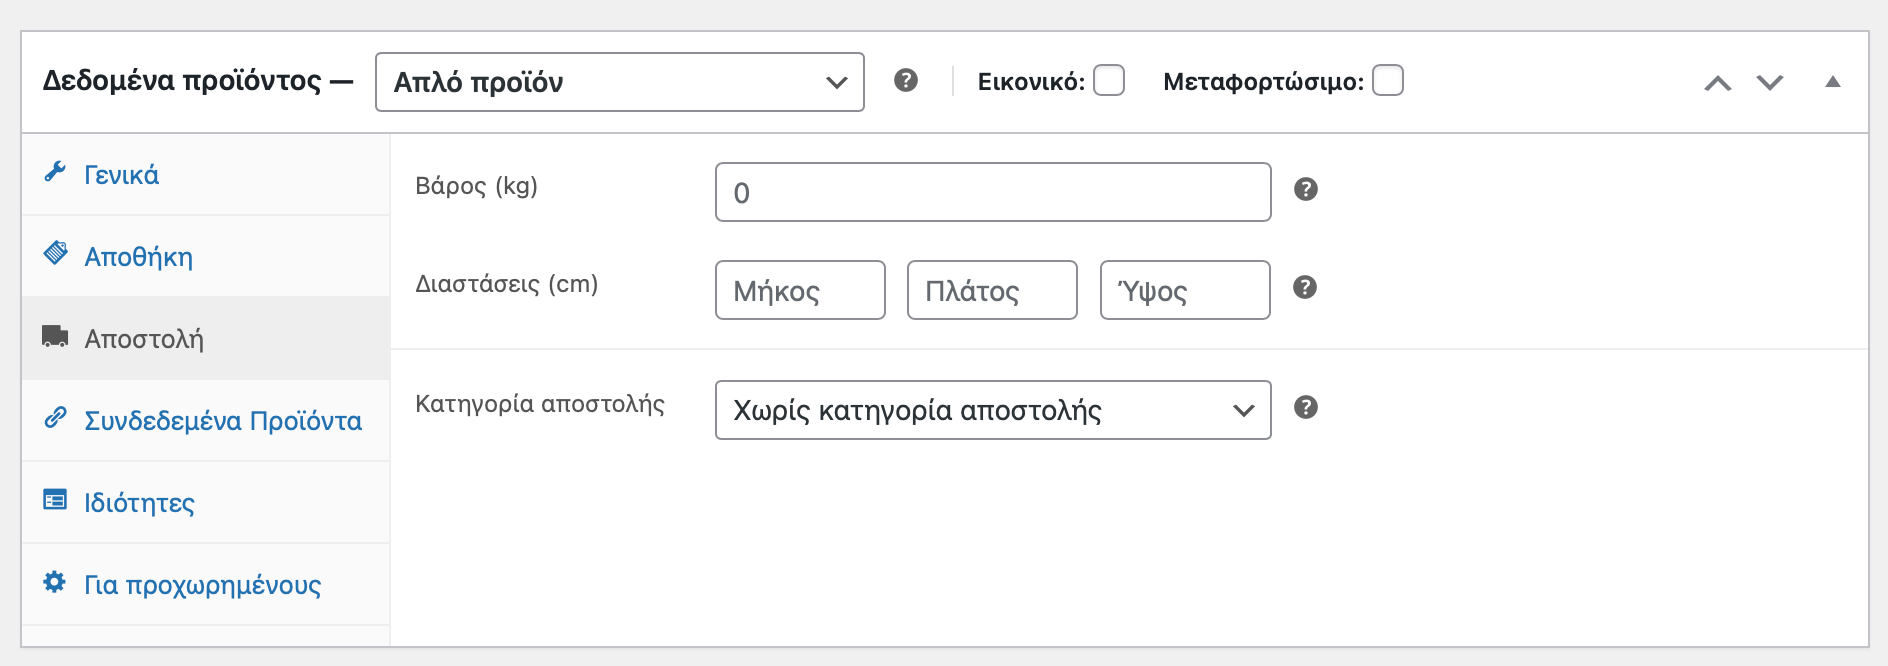
6. Προσθέστε τις διαθέσιμες μεθόδους αποστολής για το προϊόν.
7. Προσθέστε τις διαθέσιμες επιπλέον λεπτομέρειες για το προϊόν, όπως τον τύπο του και τον κατασκευαστή
8. Πατήστε το κουμπί “Αποθήκευση” για να αποθηκεύσετε το προϊόν.

Πως να διαχειριστείτε τις εικόνες προϊόντων
1. Στο διαχειριστή του Woocommerce, επιλέξτε το κατάστημα σας και επιλέξτε την καρτέλα «Προϊόντα».
2. Κάντε κλικ στο προϊόν που θέλετε να επεξεργαστείτε και επιλέξτε την καρτέλα «Εικόνες».
3. Στην επόμενη οθόνη, θα δείτε μια λίστα με τις εικόνες του προϊόντος. Μπορείτε να προσθέσετε νέες εικόνες κάνοντας κλικ στο κουμπί «Προσθήκη εικόνας».
4. Μπορείτε επίσης να διαγράψετε εικόνες κάνοντας κλικ στο κουμπί «Διαγραφή» δίπλα στην εικόνα που θέλετε να διαγράψετε.
5. Μπορείτε επίσης να αλλάξετε τη σειρά των εικόνων κάνοντας κλικ και σύροντας τις εικόνες στην θέση που θέλετε.
6. Τέλος, μπορείτε να αποθηκεύσετε τις αλλαγές σας κάνοντας κλικ στο κουμπί «Αποθήκευση αλλαγών».
Πως να διαχειριστείτε τις διαφορετικές επιλογές προϊόντων

Για να διαχειριστείτε τις διαφορετικές επιλογές προϊόντων στο Woocommerce, πρέπει να δημιουργήσετε τις ανάλογες ιδιότητες ανάλογα με το τι προϊόντα έχετε.
Παράδειγμα στο μενού Προϊόντα > Ιδιότητες πρέπει να δημιουργήσετε την κάθε ομάδα ιδιοτήτων που απαιτούνται, όπως Χρώμα, Μέγεθος, Υλικό και σε κάθε μία μέσα να πρόσθετε τους ανάλογους όρους.
Αυτές οι ιδιότητες θα χρησιμοποιηθούν σε προϊόντα τα οποία δεν είναι απλά αλλά μεταβλητά, έχουν δηλαδή τη δυνατότητα να επιλέξει ο χρήστης κάποια επιλογή όπως το χρώμα του.
Σύνοψη
Η διαδικασία εισαγωγής μπορεί να είναι χρονοβόρα και απαιτητική σε λεπτομέρειες, αλλά εάν γίνει με σωστό τρόπο και πάντα με γνώμονα τους κανόνες του καλό seo, να είστε σίγουροι ότι μπορεί να αποδώσει τα μέγιστα στο κατάστημά σας!
Χρησιμοποιείτε πάντα, ποιοτικό πρωτότυπο περιεχόμενο για την περιγραφή των προϊόντων σας, σωστούς περιεκτικούς τίτλους, μετονομάσετε κατάλληλα τις εικόνες σύμφωνα με τον τίτλο και τον κωδικό τους και θα δείτε άμεσα θετικά αποτελέσματα στην κατάταξη τους σε όλες τις μηχανές αναζήτησης.